There are two ways to deal with motorcycle maintenance on a tour: you either inspect the machine in the quiet comfort of your garage with a cup of tea in hand, or you deal with it at eight o'clock in the evening in the pouring rain on a gravel shoulder. The choice is yours, but preventative care is infinitely cheaper, safer, and kinder on your nerves.
The Pre-Tour Inspection Ritual
A proper pre-tour inspection should take place at least two weeks before your departure date—never the night before. If you discover a leaking fork seal, a notched steering head bearing, or cracked brake lines at 9:00 PM on the eve of your ferry, your tour is compromised before you even set off.
Give yourself that fourteen-day buffer to source genuine replacement parts, fit new rubber, and take the bike out on a fifty-kilometre loaded shake-down run to ensure everything is torqued down and seating correctly.
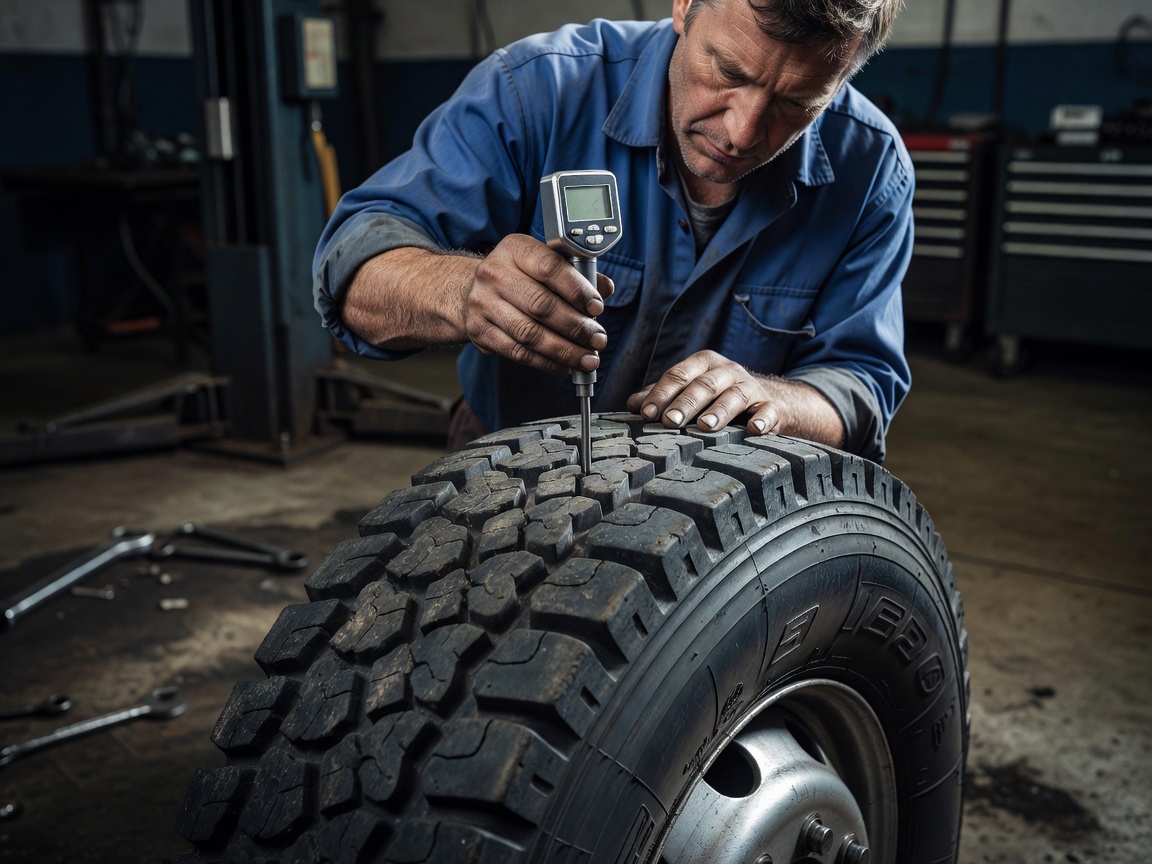
Tyre Condition & Tread Squares
Hot continental motorways and abrasive mountain asphalt eat tyre rubber twice as fast as local commuting. If your rear tyre is already squared off in the centre with less than 3.5mm tread, replace it before you set out.
Brakes: Pads, Discs & Fluid
Descending an Alpine pass puts extraordinary heat into your braking system. Constant trail braking into down-hill switchbacks can cause old, moisture-contaminated brake fluid to boil, resulting in sudden, catastrophic lever fade.
Check your brake fluid reservoir. If the fluid looks like dark amber honey or black tea, flush it with fresh fluid from a sealed bottle before you leave. Inspect your brake pad friction material; remember that you need at least 2.5mm of pad material to safely handle a multi-thousand-kilometre tour with luggage. Check the brake discs for deep scoring, blue heat discoloration, or an excessive lip at the outer edge.
Drivetrain: Chains, Belts, and Shaft Drives
For chain-driven motorcycles, touring imposes heavy demands. A heavily loaded bike changes the swingarm angle, which alters static chain slack. Always check your chain tension with the bike loaded or with someone sitting on the pillion to ensure the chain doesn't pull drum-tight as the suspension compresses.
Look for tight spots by rotating the rear wheel by hand. Check sprocket teeth for hooked or shark-fin wear profiles. Clean and lube your chain at the end of each riding day while the links are still warm; this allows the lubricant solvent to evaporate and the carrier oil to penetrate the internal O-rings without slinging all over your rear tyre the next morning.
If you ride a shaft-driven machine, verify that the final drive bevel box has fresh oil and shows zero signs of weeping seals. Belt-drive owners should inspect the cogged belt for embedded stones or longitudinal edge fraying.
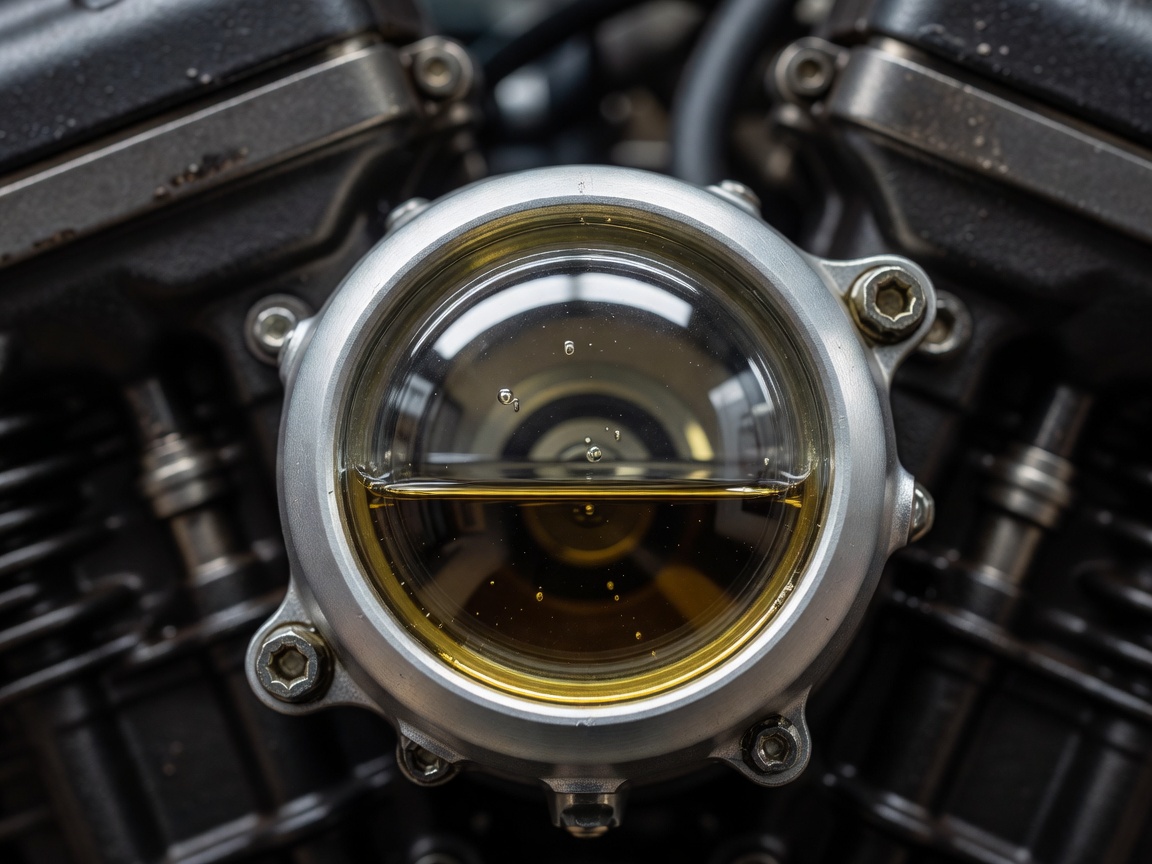
Oil Windows and Coolant Expansion
Extended high-speed cruising can cause modest oil consumption even in modern engines. Always verify your sight glass on level ground after the engine has settled for five minutes, and carry a half-litre bottle of matching viscosity oil in your pannier.
Electrical Systems, Battery and Fasteners
Modern touring motorcycles draw substantial electrical current. Between heated grips, GPS navigation, auxiliary spotlights, and smartphone charging sockets, your alternator and regulator-rectifier work overtime.
Test your battery standing voltage with a multimeter. A healthy lead-acid or AGM unit should rest above 12.6 volts; anything below 12.3 volts indicates tired plates that could fail after a cold night at an alpine pass hotel.
Finally, spend thirty minutes with a torque wrench checking chassis fasteners: subframe mounting bolts, pannier rack stays, brake caliper bolts, handlebar clamps, and exhaust headers. Continuous road vibration has an uncanny ability to loosen fasteners that weren't properly torqued.
The Daily Two-Minute Walkaround
Every morning before you start the engine, run a quick ritual. Check cold tyre pressures with a reliable pencil or digital gauge. Look under the engine for fresh drips. Squeeze both brake levers and the clutch to confirm positive pressure. Check that all indicators and brake lights illuminate clearly. It takes two minutes and guarantees peace of mind for the next three hundred kilometres.